

Key Takeaways
Correct identification comes before ordering or fitting any timing belt component. A careful inspection, complete parts selection, and documented installation help reduce the risk of expensive timing faults.
- Confirm the exact model, engine code, production year, and existing part numbers before ordering.
- Treat the belt, tensioners, idler pulleys, water pump, seals, and fasteners as one service system.
- Replace worn or noisy supporting components rather than fitting a new belt around questionable parts.
- Follow the correct timing marks, tension procedure, and engine rotation checks during installation.
- Record the service date, mileage, and parts fitted for the next maintenance decision.
Understanding the SsangYong timing belt system
A timing belt service is more than a belt swap. The belt keeps the crankshaft and camshaft turning in the required relationship, while several surrounding components guide, tension, and support it. Before buying ssangyong timing belt parts, establish whether the engine uses a belt and identify its exact configuration.
What the timing belt does in the engine
The timing belt synchronises crankshaft movement with camshaft movement so the valves open and close at the intended points in the engine cycle. It runs under controlled tension and must stay aligned with its sprockets. If it slips, stretches beyond its usable range, or breaks, the engine may stop running and internal damage can occur on some engines.
A belt can look acceptable from above and still be unsuitable for continued service. Age, heat, oil, coolant, and repeated flexing all affect the material, so service history matters as much as a quick visual check.
Which components work with the belt
The belt usually works alongside a tensioner, one or more idler pulleys, crankshaft and camshaft sprockets, and sometimes a water pump driven by the same system. Each part affects belt tracking and load. A new belt installed with a rough pulley bearing or a leaking pump may not deliver a dependable repair.
That is why a complete inspection should happen before the parts order is finalised. Look for bearing noise, play, seal leakage, damaged pulley surfaces, and any sign that oil or coolant has reached the belt.
Timing belt versus timing chain by model
Not every engine in a model range uses the same timing arrangement. Some variants use a belt, while others use a chain or differ in the layout of their tensioning components. Model names alone are therefore not enough to select a replacement kit.
Check the engine code, build information, service documentation, and the installed parts. If the vehicle history is incomplete, a parts catalogue lookup and a physical inspection can prevent an expensive mismatch.
Why correct engine identification matters
A small difference in engine family can change belt length, tooth profile, tensioner design, water pump fitment, and timing-mark positions. The registration details may help narrow the search, but they should be checked against the engine and the part number rather than treated as the only evidence.
Exact engine identification is the most useful first step because it reduces guesswork before money is spent. Keep photographs of the removed parts and compare their shape, mounting points, and markings with the replacement components.
Choosing the right SsangYong timing belt parts
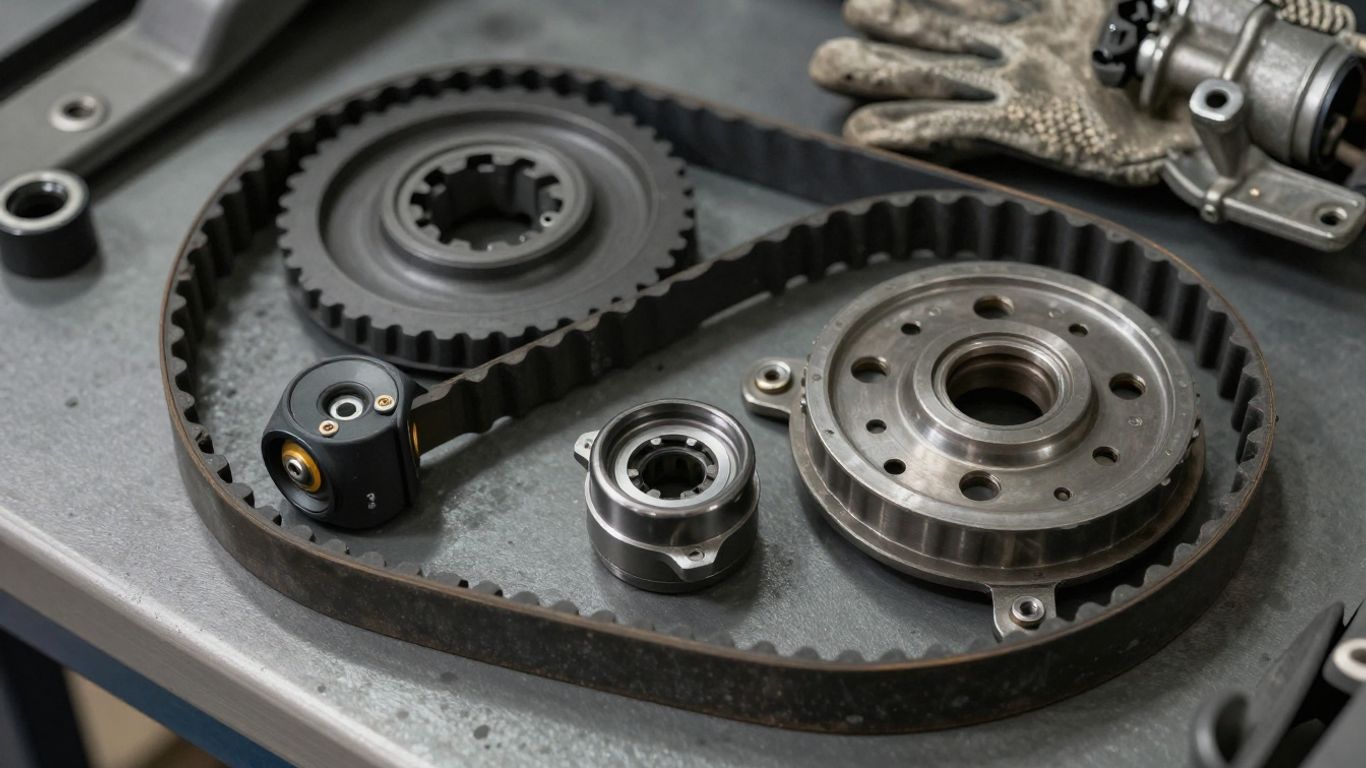
Choosing parts begins with the vehicle, not with the cheapest listing. A suitable kit must match the engine and include the components needed for the planned repair. It also helps to compare the old parts with catalogue information before dismantling anything.
Matching parts to model, engine, and production year
Record the model designation, engine code, production year, fuel type, and any relevant build or chassis information. Two vehicles with similar badges can use different belt systems, and a mid-year production change can affect fitment.
For example, a listing for an Actyon G20D timing belt tensioner should be checked against the actual engine and the part number before purchase. The listing identifies part number 1722000170, but that does not replace confirming the vehicle application.
Comparing OEM, aftermarket, and genuine components
Original-equipment, genuine, and aftermarket parts can all appear in a parts search, but their descriptions and included items vary. Compare construction, warranty information, supplier traceability, and the exact contents of the box rather than relying on a broad compatibility statement.
For a vehicle owner sourcing parts through a broad car-parts network, the practical goal is a correctly matched component at a sensible price. A less expensive part is not a saving if it requires a second repair because its specification or contents were unclear.
Checking part numbers and compatibility
Part numbers provide a useful cross-check, particularly when several engines share a model name. Read the number from the old component where possible, then compare it with the catalogue number, engine application, and any superseded-number information.
The Actyon G20D timing belt tensioner is one example of why this check matters: the product information names a specific application and replacement number. Treat that information as a fitment lead, then verify it against the vehicle before ordering.
Avoiding low-quality or incomplete kits
A kit can be unsuitable even when its belt appears correct. It may omit an idler, tensioner, water-pump seal, or required fastener, leaving the installer to reuse a component that should have been replaced.
Before checkout, check the contents against the workshop procedure and the condition of the existing system. A simple parts list is useful because it exposes omissions early:
- Timing belt with the correct tooth profile and length.
- Tensioner and idler pulleys required by the engine layout.
- Water pump, gasket, or seals when the pump is part of the service.
- New fasteners or guides specified by the repair information.
After that comparison, ask whether the kit supports the whole job or only one visible part of it. The answer should be clear before the vehicle is taken apart.
Essential components in a timing belt replacement
A timing belt system is a group of moving and sealing parts. Replacing only the belt may leave old bearings, seals, or fasteners exposed to the same loads that caused concern in the first place. The exact service scope depends on the engine, but the main categories are consistent.
Timing belt and belt markings
Check the belt width, length, tooth count, tooth shape, and printed markings against the specified component. Markings can help identify the belt, but they do not confirm fitment by themselves; a belt must still match the engine application and routing.
Keep the new belt clean and dry. Avoid bending it sharply, contaminating it with oil or coolant, or forcing it over a pulley with tools that can damage the teeth or reinforcing cords.
Tensioners and idler pulleys
The tensioner applies the specified load, while idler pulleys keep the belt on its intended path. Their bearings should turn smoothly without roughness, grinding, excessive play, or visible seal damage. A pulley that feels acceptable by hand can still be unsuitable if its surface is worn or its mechanism is weak.
The D20DT/D27DT timing belt tensioner pin illustrates how a small supporting item can be application-specific. Check the engine family and the stated part number rather than assuming every pin or retaining piece is interchangeable.
Water pump and related seals
When the water pump is driven by the timing belt, many technicians inspect or replace it during the same service because access may overlap. Look for shaft play, staining, seepage, damaged sealing surfaces, and evidence of dried coolant around the pump.
Use the correct gasket or seal and follow the specified installation method. A new pump can still leak if the mating surface is dirty, the seal is damaged, or fasteners are tightened incorrectly.
Fasteners, guides, and accessory belts
Some timing systems use specific tensioner bolts, guides, spacers, or locking hardware. Workshop information may require a fastener to be replaced rather than reused, or may specify a tightening sequence and torque procedure.
Accessory belts are separate from the timing belt but deserve a look while covers are removed. Cracks, fraying, contamination, or a noisy accessory pulley can create a second fault soon after the timing work is completed. Keep the timing system and accessory drive separate in the parts order so nothing is overlooked.
Inspecting timing belt parts for wear
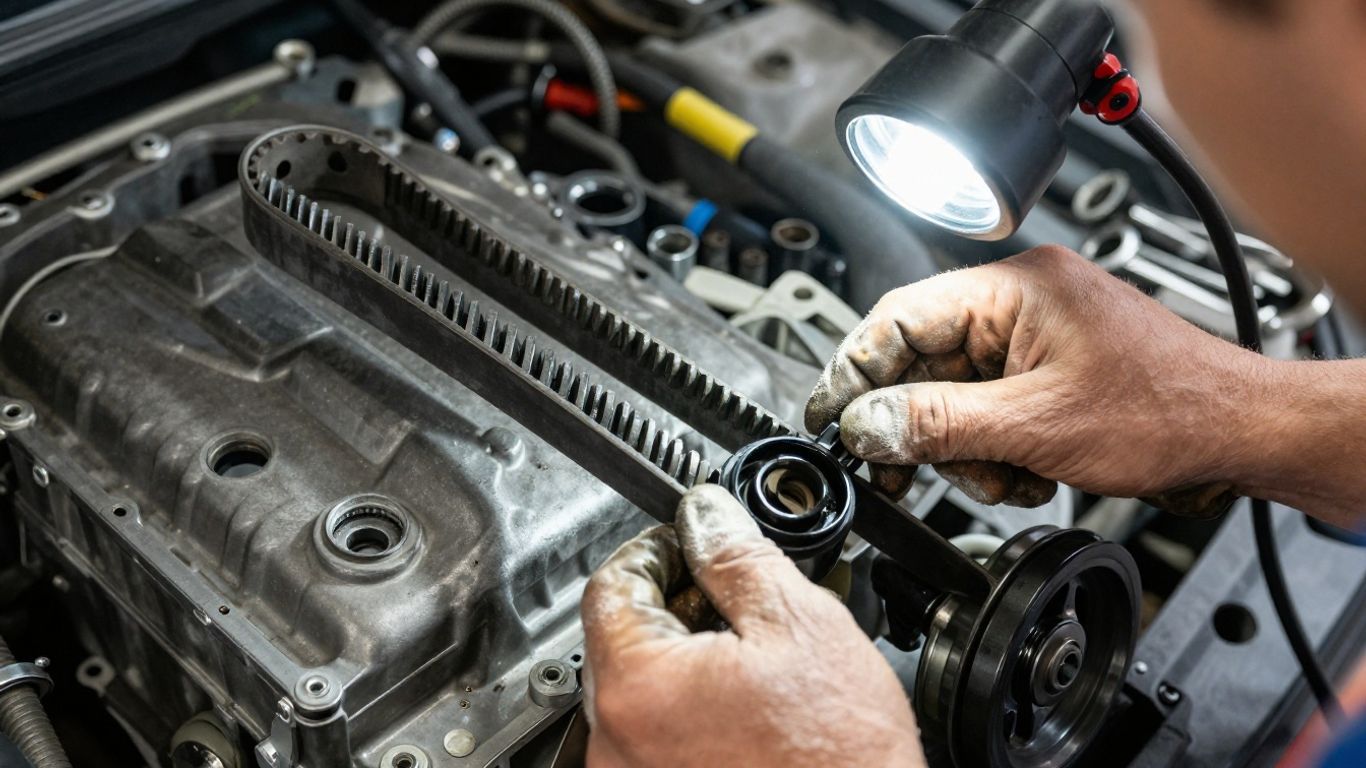
Inspection should be methodical and done with the engine safely positioned and the relevant covers removed. Do not rely on one symptom: belt wear, pulley noise, fluid contamination, and alignment marks all provide useful evidence. Photograph unusual wear before cleaning the area.
Cracks, fraying, glazing, and tooth damage
Examine the belt’s back, edges, ribs, and teeth. Cracks, missing tooth material, frayed edges, polished or glazed surfaces, and embedded debris are warning signs. Oil or coolant contamination can soften the material and may justify replacement even when the belt has not reached its scheduled interval.
Also look for one-sided wear. It can indicate that the belt is tracking against a flange or that a pulley is misaligned. Do not dismiss edge wear as cosmetic until the belt path and pulley positions have been checked.
Noisy or rough tensioner and idler bearings
Spin each accessible pulley by hand only when the engine is secure and the relevant procedure allows it. A healthy bearing should not feel gritty, bind, wobble, or make a dry scraping noise. Compare the movement of similar pulleys and check for looseness at the mounting point.
Noise during operation can also come from a tensioner mechanism that is moving irregularly. If the belt oscillates or the tensioner indicator sits outside its specified position, stop and investigate rather than trying to quiet the sound with a new belt alone.
Coolant leaks around the water pump
Dried coolant deposits, wet staining, or a trail beneath the pump can point to a leak. Check nearby hoses and the housing as well, since fluid can travel and make the source appear farther away than it is.
A leaking pump can contaminate the belt and reduce its service life. Clean surfaces carefully, identify the source, and replace the relevant seal or pump according to the engine-specific repair information.
Signs of incorrect tension or belt alignment
A belt that rides against a pulley flange, sits too far toward one edge, or shows uneven tooth wear may not be tensioned or aligned correctly. Incorrect routing, a misplaced spacer, a bent guide, or a pulley installed in the wrong position can each create trouble.
The most useful evidence is often a combination of belt tracking and the tensioner indicator. Compare both with the specified reference position after the engine has been rotated by hand according to the procedure.
Planning a SsangYong timing belt service
Good preparation keeps the work controlled and makes it easier to spot a wrong part before installation. Gather the vehicle information, service history, repair data, replacement components, and safety equipment first. Allow enough time for verification rather than treating the job as a quick belt exchange.
Recommended replacement intervals and service history
Use the engine-specific replacement interval from reliable service information, and consider both mileage and elapsed time. Belts can age while a vehicle is driven infrequently. If there is no trustworthy record, the conservative approach is to assess the existing belt and plan replacement rather than assume it is recent.
Record the date and mileage of the last known service, along with whether the water pump and tensioners were changed. A partial history can still help, but it should not be treated as proof that every component is new.
Tools, workshop data, and safety precautions
The job may require locking tools, torque tools, a suitable crankshaft holding method, access equipment, and accurate workshop data. Disconnect the battery where appropriate, support the vehicle securely, and keep loose clothing and hands away from moving components during checks.
Do not turn the crankshaft or camshaft casually with the belt removed. Follow the engine-specific instructions for locking, releasing tension, and rotating the assembly. If the required tools or data are unavailable, delaying the work is safer than improvising.
Setting the engine to the correct timing position
Before removing the old belt, align the engine with the specified timing marks and note the position of the crankshaft, camshaft, and tensioner. Do not rely only on paint marks added during a previous repair, since they may be inaccurate or may not identify the true reference position.
Once the new belt is routed, apply tension in the prescribed way and rotate the engine by hand for the specified number of turns. Recheck the marks and tensioner position before attempting a start. This is where a few quiet minutes can prevent a major mistake.
When professional installation is the better option
Professional installation is sensible when the engine has limited access, the timing layout is unfamiliar, or the correct locking and tension tools are not available. It is also the better choice when a previous repair has left unclear marks, damaged fasteners, or a suspected timing fault.
A qualified technician can verify the engine code, inspect related components, and complete the required post-installation checks. Parts can still be sourced carefully by the owner, but fitment and installation should never be separated from the information needed to do the job correctly.
Verifying the installation and preventing future problems
The final checks are part of the repair, not an optional finish. A belt can be correctly routed yet still have a mark, tension, leak, or fastener problem that appears only after the engine is turned. Work through the checks in a calm sequence and keep the service record while the details are fresh.
Confirming timing marks and belt tension
After the belt has been installed and the engine rotated by hand as specified, confirm every timing reference. Check the tensioner indicator, belt seating, pulley alignment, and the routing around each sprocket. If a mark is no longer aligned, do not compensate by moving the belt casually; return to the procedure and correct the cause.
A final visual inspection should include the belt edges, guide flanges, fasteners, and cover clearances. Refit covers and seals carefully so they do not rub against the belt or create a later leak.
Checking for leaks, noise, and starting issues
Before the first start, confirm that tools and locking devices have been removed and that all required connectors and covers are back in place. After starting, listen for unusual ticking, slapping, grinding, or squealing, and inspect for coolant or oil leakage.
A difficult start, unstable idle, or warning light deserves investigation rather than repeated cranking. Shut the engine down if the noise is abnormal, then recheck timing, tension, connectors, and any component disturbed during the service.
Resetting service records and retaining old parts
Update the service record with the date, mileage, belt kit details, water pump status, and any additional components replaced. If the vehicle has an electronic maintenance record, update it according to the vehicle’s procedure rather than assuming the record has changed automatically.
Retaining the old parts briefly can help resolve a fitment question or warranty issue. Label them if necessary, especially when several similar pulleys or fasteners were removed during the same job.
Keeping replacement dates and mileage documented
Write the next inspection or replacement reference in the vehicle records and keep the invoice or parts receipt with it. Include the engine code and part numbers where available. This makes the next decision easier for any owner or workshop.
A clear record also protects against repeated uncertainty. When the service date, mileage, and parts fitted are known, the next timing belt assessment can be based on evidence rather than memory.
Conclusion
Choosing and replacing timing belt components is a job built on accurate identification, complete inspection, and disciplined installation. Match every part to the engine, treat supporting components as part of the system, and document the finished service so future maintenance starts with reliable information.
Frequently Asked Questions
How often should a timing belt be replaced?
Use the engine-specific interval based on both mileage and elapsed time. If the service history is missing, have the belt and related components inspected rather than assuming the previous interval was followed.
Can a timing belt be inspected without removing the covers?
A limited visual check may be possible, but it cannot confirm the condition of every tooth, pulley bearing, tensioner, or water-pump seal. A proper assessment may require cover removal and workshop-specific procedures.
Should the tensioner be replaced with the belt?
It is commonly assessed as part of the same service because its bearing and tensioning mechanism directly affect belt operation. Replace it when the service procedure, condition, or kit specification calls for it.
Is a water pump always part of a timing belt kit?
No. Kit contents vary by engine and supplier. Check whether the pump is driven by the timing belt and whether the repair information recommends replacing it during the same access operation.
What does a worn timing belt look like?
Possible signs include cracks, frayed edges, glazing, damaged teeth, contamination, and uneven tracking. A belt can also fail from age or contamination without displaying an obvious external symptom.
Can a new timing belt fix an engine that will not start?
Only if the belt was the cause and the timing system is installed correctly. A no-start condition can have many causes, so timing marks, fuel, ignition, sensors, and electrical connections should be checked systematically.
What information should be kept after the repair?
Record the vehicle and engine identification, service date, mileage, parts and part numbers, water-pump status, and any observations made during installation. Keep receipts and workshop documentation with the vehicle records.