
Key Takeaways
A CV joint lets a driven wheel receive power while moving and changing angle. The symptoms can point toward a fault, but a proper inspection helps distinguish a CV joint problem from other issues.
- Clicking during a turn can be a sign of wear in an outer CV joint.
- Acceleration shudder, grease loss, and torn boots are worth having checked.
- Drivetrain layout and vehicle details matter when selecting a replacement part.
- A technician can advise whether to replace a joint or the complete axle.
- Prompt inspection may prevent a damaged boot from allowing dirt and moisture into the joint.
What CV joints do in a SsangYong
CV joints, or constant-velocity joints, transmit power through an axle while allowing movement as the vehicle travels and the wheels steer. Their location and configuration depend on the vehicle’s drivetrain. Knowing the basics helps make sense of common symptoms, but it does not replace an inspection of the specific vehicle.
How the joints transfer power to the wheels
An engine and transmission produce rotation; the axle and CV joints carry that rotation to the driven wheels. The joints allow the axle to keep turning as suspension movement changes its angle. That flexibility is what lets a wheel move over bumps or steer without interrupting power transfer.
A joint has to move freely while remaining protected from road grit and water. Its flexible boot holds grease around the joint and helps keep contaminants out. A sound boot matters because a split boot can let grease escape and expose the joint to dirt.
Differences between inner and outer CV joints
A typical axle has an inner joint closer to the transmission and an outer joint nearer the wheel. Their positions mean the joints work through different movements, and a fault may produce different symptoms. The table is a useful starting point, not a way to diagnose a particular vehicle from sound alone.
| Joint location | Typical position | Possible clue to investigate |
|---|---|---|
| Inner | Near the transmission or differential | Shudder or vibration under acceleration |
| Outer | Near the wheel hub | Clicking during tight turns |
| Either | Along the axle | Damaged boot or grease around the area |
These clues can overlap with faults elsewhere, so a mechanic should check the full assembly before recommending parts. The joint’s location and condition matter more than a symptom label on its own.
How drivetrain layout affects joint location
Front-wheel-drive vehicles generally use front axle shafts to drive the wheels, while vehicles with other drivetrain layouts may have driven axles in different locations. A vehicle may also use different arrangements depending on its model and specification. That is why the vehicle’s exact configuration matters when diagnosing a noise or ordering a part.
Avoid assuming that a part listed for one SsangYong will suit another. The model name alone may not identify the correct axle or joint. Check the vehicle details and confirm the drivetrain before selecting a replacement.
Common signs of CV joint problems
A CV joint issue may first show up as a sound, a change in how the vehicle feels, or visible grease near a wheel or axle. None of these signs proves the joint is faulty by itself. Notice when the symptom occurs and arrange an inspection if it persists or worsens.
Clicking or popping during turns
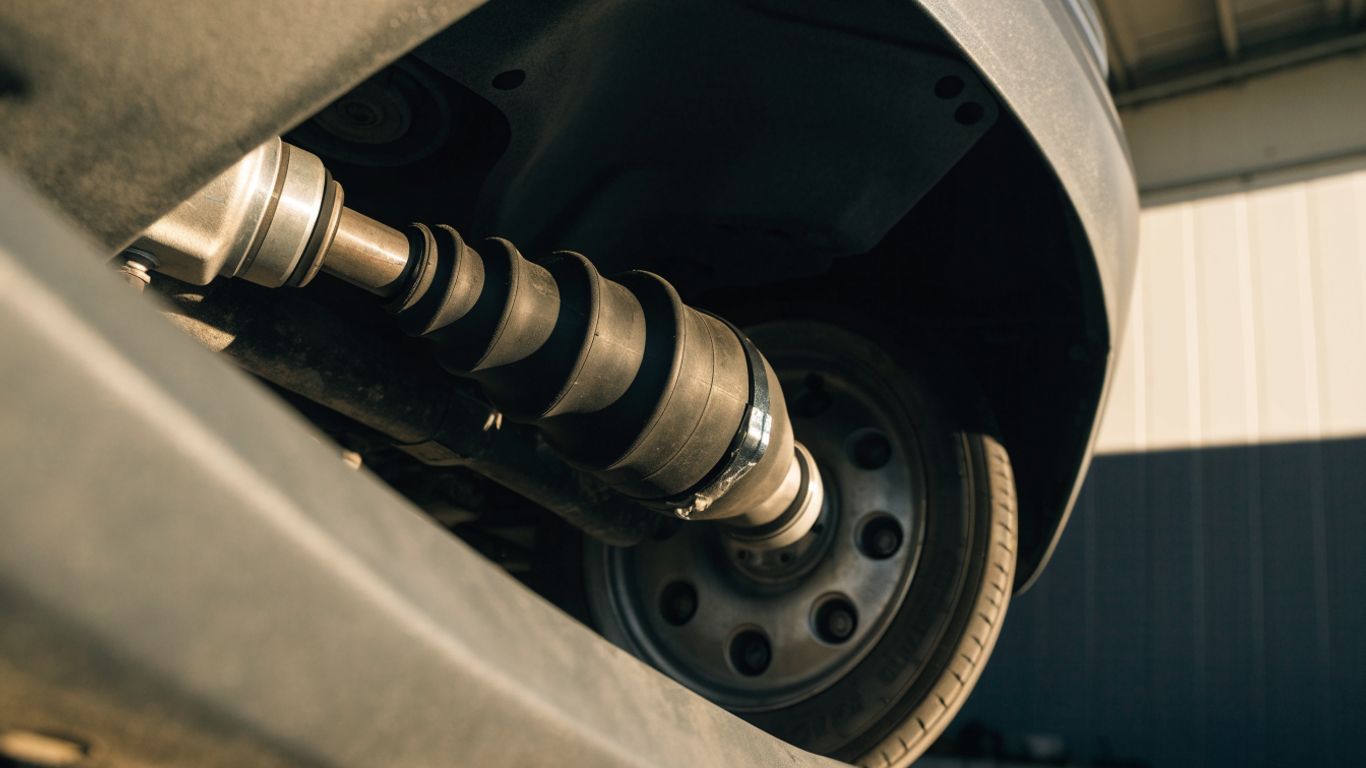
Repeated clicking or popping while turning, particularly at low speed, can be associated with wear in an outer CV joint. The sound may become more noticeable during a tight turn, but similar noises can have other causes. Note which direction the vehicle is turning and whether the sound changes with speed; that detail can help a technician reproduce it.
A single click or occasional noise is not enough to identify the source. If the sound recurs, have the axle and nearby components checked rather than relying on the symptom alone.
Vibration or shuddering while accelerating
A shudder or vibration that becomes clearer as the vehicle accelerates may point to an issue with an inner joint or axle. But tyre condition, wheel balance, mounts, and suspension components can also contribute. Pay attention to whether the sensation happens only under acceleration or continues while coasting.
The pattern is useful information, not a diagnosis. If vibration is strong, suddenly worse, or accompanied by other handling changes, arrange an inspection promptly and avoid unnecessary driving until you know what is wrong.
Grease leaks and visible boot damage
A torn or split boot can release grease, which may appear on nearby suspension or bodywork. Cracks, loose clamps, or grease around the boot are reasons to have the area inspected. A damaged boot does not automatically mean the joint itself has failed, particularly if the problem is caught early.
If you spot grease or boot damage, keep the area clean enough for a technician to assess without disturbing the joint. A clear photo can help you remember what you saw, but it cannot show whether internal wear has already occurred.
How to diagnose a suspected CV joint issue
Good diagnosis starts with observing the symptom and checking the axle, boots, and nearby parts. A mechanic may combine a visual inspection with a road test, then rule out other likely causes. You can make that process more useful by describing when the issue occurs and whether it has changed over time.
Inspecting the CV boots and surrounding components
A technician can inspect the boots for splits, deterioration, displaced clamps, and grease loss, then look for signs of impact or wear around the axle and wheel area. They may also check neighbouring components, since a damaged or loose part nearby can create similar symptoms. Do not crawl under a vehicle supported only by a jack to inspect it yourself.
When describing what you noticed, a short set of details is more helpful than a guess about which part has failed:
- Say whether the noise or vibration happens while turning, accelerating, or both.
- Note whether it comes from one side or is hard to locate.
- Mention any recent change in severity or driving conditions.
- Point out visible grease, boot damage, or a recent impact.
These observations give the mechanic a starting point without treating a symptom as a confirmed diagnosis. For a practical local next step, you can compare mechanics who handle CV joint inspections and replacement.
Testing for noises during turns and acceleration
A controlled road test can help a technician reproduce a noise or vibration. They may observe how the symptom changes with steering angle, speed, and acceleration, then compare what they hear with the physical inspection findings. Avoid deliberately stressing a vehicle with a suspected fault just to make the sound louder.
The goal is to narrow down the cause, not to force a conclusion from one test. A symptom that appears in a particular manoeuvre is useful evidence, but it still needs to be considered alongside the condition of the axle and other components.
Ruling out wheel bearings, tyres, and suspension faults
Wheel bearings, tyres, and suspension components can produce noises or vibrations that resemble a CV joint issue. A bearing-related sound may change with vehicle speed or direction, while tyre problems can cause vibration; suspension wear may become more apparent over uneven surfaces. These patterns vary, and overlap is common.
A careful inspection compares the possible sources instead of replacing the first part that seems plausible. Ask what checks support the diagnosis and whether any other components need attention before approving work.
Finding the right CV joint for your SsangYong
The right replacement depends on the vehicle’s precise specification, not just the make. Model, year, engine, drivetrain, and axle details can all affect fitment. Confirm those details before buying a joint or complete axle, and ask the supplier or technician to verify compatibility.
Matching the part to the model, year, and engine
Start with the model, model year, engine, and vehicle identification details. Registration information may help a parts supplier look up the vehicle, but it is still sensible to confirm the part number and fitment before ordering. A similar-looking component is not necessarily interchangeable.
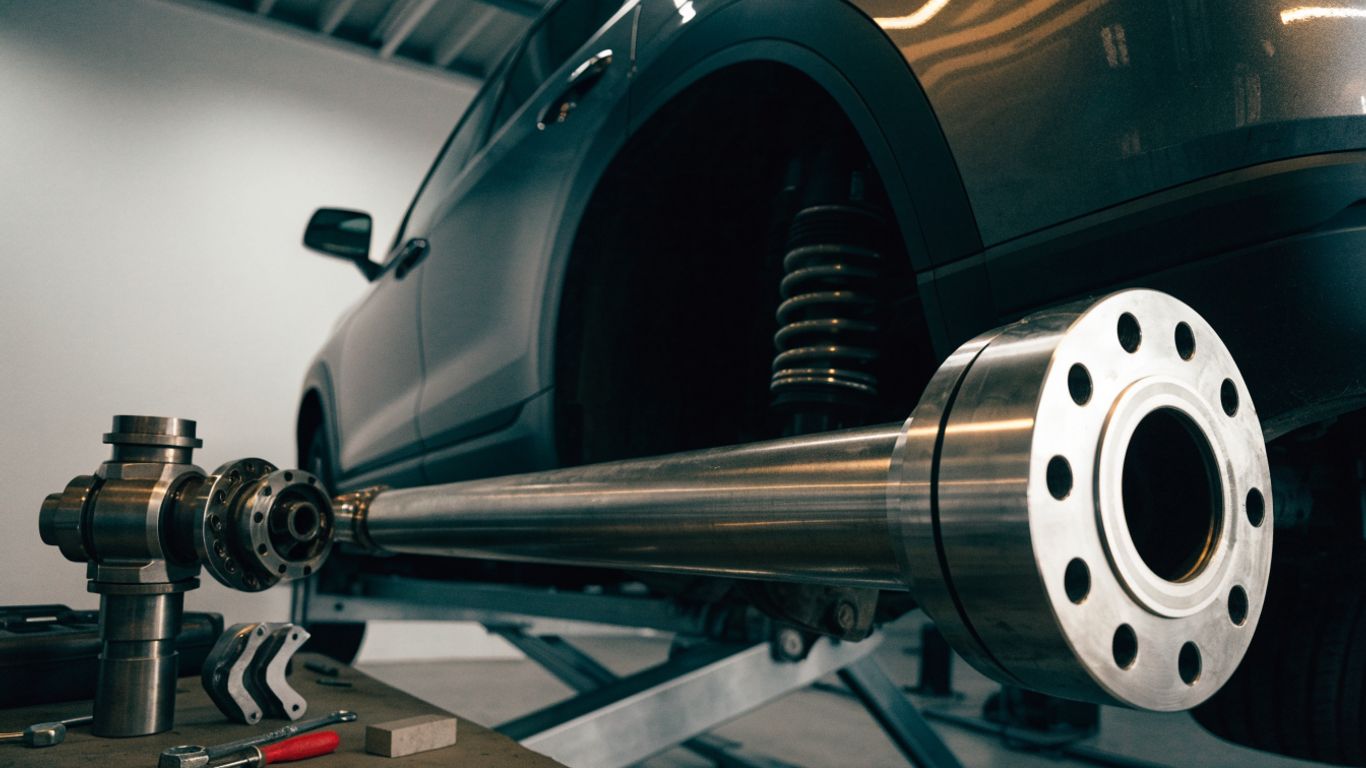
The inner-joint listing for a Turismo II is one example of a listing tied to a particular vehicle application; use it as a prompt to verify your own fitment, not as evidence that the part suits every model. The same caution applies to any advertised replacement.
Checking drivetrain and axle specifications
Confirm which wheels are driven and identify the axle specification required for the vehicle. Depending on the application, details such as side, length, joint type, and connections can affect compatibility. A mechanic or parts supplier can cross-check these details against the vehicle identification information.
If a listing includes a part number, compare it with the number on the existing component or confirm it with a knowledgeable supplier. For instance, a listed CV joint names a part number and compatible applications, but that information still needs to be checked against the vehicle in question.
Comparing complete driveshafts with individual joints
A replacement may be sold as an individual joint or as a complete driveshaft assembly. Which option makes sense depends on the confirmed fault, the condition of the remaining components, the part’s availability, and the labour involved. Ask what is included in the quote so you can compare like with like.
A quote can be easier to assess when its scope is clear. For complex work, some providers may need to inspect the vehicle before confirming the price; you can compare repair quotes and check what each one includes. A second quote option can also help you review prices and proposed work before deciding.
What to expect during CV joint replacement
The exact repair process varies with the vehicle and the part being replaced. A technician will confirm the fault, identify the correct component, and remove the necessary parts to access the axle. Ask the workshop what work is included and whether anything else was found during inspection.
Replacing a joint versus the complete axle
If the joint is available separately and the axle is otherwise in suitable condition, replacing the joint may be an option. A complete axle can be considered when the assembly is damaged, the correct joint is unavailable, or the workshop determines that replacing the assembly is appropriate. The choice should follow the inspection and parts fitment, rather than a general rule that one approach is always better.
Ask the technician to explain why the recommended repair suits the condition of your vehicle. It is reasonable to compare the parts, labour, and warranty terms for the proposed options before authorising work.
Key steps a technician may perform
Depending on the vehicle, a technician may remove the wheel and related components needed to access the axle, detach the axle from the hub or drivetrain, and replace the joint or assembly. They may transfer or renew seals and other related items where required, then refit components and check that everything is secured correctly. The exact sequence differs by vehicle, so this is not a do-it-yourself procedure or a universal repair recipe.
Clear communication helps avoid surprises. Before work begins, confirm what part is being replaced, whether any associated seals or fasteners are included, and how the shop will handle additional findings.
Why alignment and post-repair checks matter
After reassembly, the technician should check for abnormal noise, vibration, leaks, and correct operation. Whether a wheel alignment is needed depends on what components were disturbed and the vehicle’s condition; ask the workshop to explain its recommendation. A short road test can help confirm that the original symptom has been addressed.
If the old noise remains or a new vibration appears, report it promptly and describe when it happens. Follow-up checks are part of confirming the repair, not a reason to ignore a continuing symptom.
Extending CV joint life and planning repairs
CV joints are protected by boots that keep grease in and contaminants out, so visible boot damage deserves attention. Careful driving over rough surfaces and avoiding contact with road debris may reduce the chance of impact damage, though normal wear can still occur. Planning also means understanding the work and cost before approving a repair.
Preventing boot damage and contamination
Have boots checked during routine servicing, especially if there is grease near an axle or a new clicking sound. Avoid brushing the underside against kerbs or debris where possible, and ask for an inspection after a noticeable impact. Catching boot damage early may make it possible to address the boot before dirt and moisture have had much time to reach the joint.
No inspection schedule can guarantee that a boot will remain intact. The useful habit is to respond to visible damage and changes in sound or vibration instead of waiting for the vehicle to become difficult to drive.
Deciding when a repair should not be delayed
A torn boot, recurring clicking, or worsening vibration calls for a timely assessment. If the vehicle has severe vibration, loses drive, or becomes difficult to control, stop somewhere safe and arrange professional help rather than continuing the trip. A mechanic can advise whether it is safe to drive to the workshop or whether recovery is needed.
A repair decision is often easier when you set out the immediate choices and questions clearly. General planning tools such as mortgage approval guidance, Xcan It, a SWOT analysis, Ultimify, and sales salary comparisons concern other subjects; none can establish a vehicle fault or confirm parts fitment. For this repair, rely on the inspection and the details of the quote.
Comparing parts, labour, and warranty terms
Compare the quoted part, labour, and warranty as separate items, and check whether the price includes related components or additional work. Ask whether the warranty covers the part, the labour, or both, and what conditions apply. A lower total is not a useful comparison if the quotes include different parts or scopes of work.
Keep the written quote and repair record, including the part number if available. That makes it easier to discuss a follow-up concern and to understand what was done.
Conclusion
A clicking turn, acceleration shudder, or damaged boot can all be reasons to inspect a CV joint, but none is conclusive on its own. Confirming the fault, checking exact fitment, and understanding the repair scope help you make a sound decision and get the vehicle back on the road with confidence.
Frequently Asked Questions
What does a CV joint do?
A CV joint transfers rotational power through an axle while allowing movement as the suspension travels and the wheels steer.
Can I keep driving with a clicking CV joint?
A recurring click should be inspected promptly. If the vehicle vibrates severely, loses drive, or becomes difficult to control, stop safely and arrange professional assistance.
Does a torn CV boot mean the joint must be replaced?
Not always. A technician needs to assess whether the joint has been contaminated or damaged and whether replacing the boot alone is appropriate.
What causes a CV joint to fail?
Wear over time and loss of protective grease after boot damage can contribute to joint problems. Impacts and driving conditions may also affect the components.
Can a wheel bearing sound like a CV joint?
Yes. Wheel bearings and other nearby components can cause noises that are mistaken for CV joint symptoms, so inspection is needed to tell them apart.
Should I replace one CV joint or the full axle?
That depends on the confirmed fault, the condition of the axle, part availability, and the labour involved. Ask the technician to explain the recommendation for your vehicle.
What details are needed to order the correct replacement?
Provide the model, year, engine, drivetrain, and vehicle identification details, then confirm the part number and fitment with the supplier or technician.