

Key Takeaways
Good brake work starts with correct fitment and careful inspection, not simply buying the most expensive disc available.
- Match each rotor to the vehicle’s exact model, year, engine, and brake package.
- Treat vibration, deep grooves, blue marks, and grinding as reasons to inspect the braking system.
- Measure thickness and runout before deciding whether a rotor can remain in service.
- Replace rotors in axle pairs and use compatible brake pads.
- Bed in new parts gradually and keep checking the complete brake assembly.
Understanding Ssangyong brake rotors
Brake rotors, also called discs, provide the flat friction surface that the brake pads clamp when the driver presses the pedal. They turn the vehicle’s motion into heat, which is then dispersed through the rotor and surrounding air. The right rotor therefore needs to fit the hub precisely and operate within the brake system’s intended limits.
What brake rotors do in the braking system
A caliper pushes the pads against opposite sides of the spinning rotor. Friction slows the rotor, and because the rotor is attached to the wheel hub, the vehicle slows as well. The rotor must remain sufficiently flat, thick, and secure for that contact to be consistent. Even pad contact matters because uneven pressure can affect pedal feel and stopping behaviour.
How front and rear rotors differ
Front brakes usually manage a larger share of the vehicle’s braking load because weight transfers forward during deceleration. Rear brakes still matter: they help stabilise the vehicle and may incorporate the parking-brake mechanism. Their dimensions, ventilation, thickness, and mounting details can differ, so a front rotor should never be treated as interchangeable with a rear one.
Why rotor condition affects braking performance
A rotor that is below its service limit has less material available to absorb heat. Excessive variation across its braking surface can also push the pads back and create a pulsing pedal. Inspection should consider the disc, pads, caliper, hub, and wheel installation together rather than blaming every braking complaint on the rotor alone.
Signs your Ssangyong needs new rotors
Rotor wear often develops gradually, so the first clue may be a change in pedal feel rather than an obvious visual failure. Pay attention to symptoms that appear only under braking, especially from higher speeds or after repeated stops. A prompt inspection is safer than waiting for a noise to become severe.
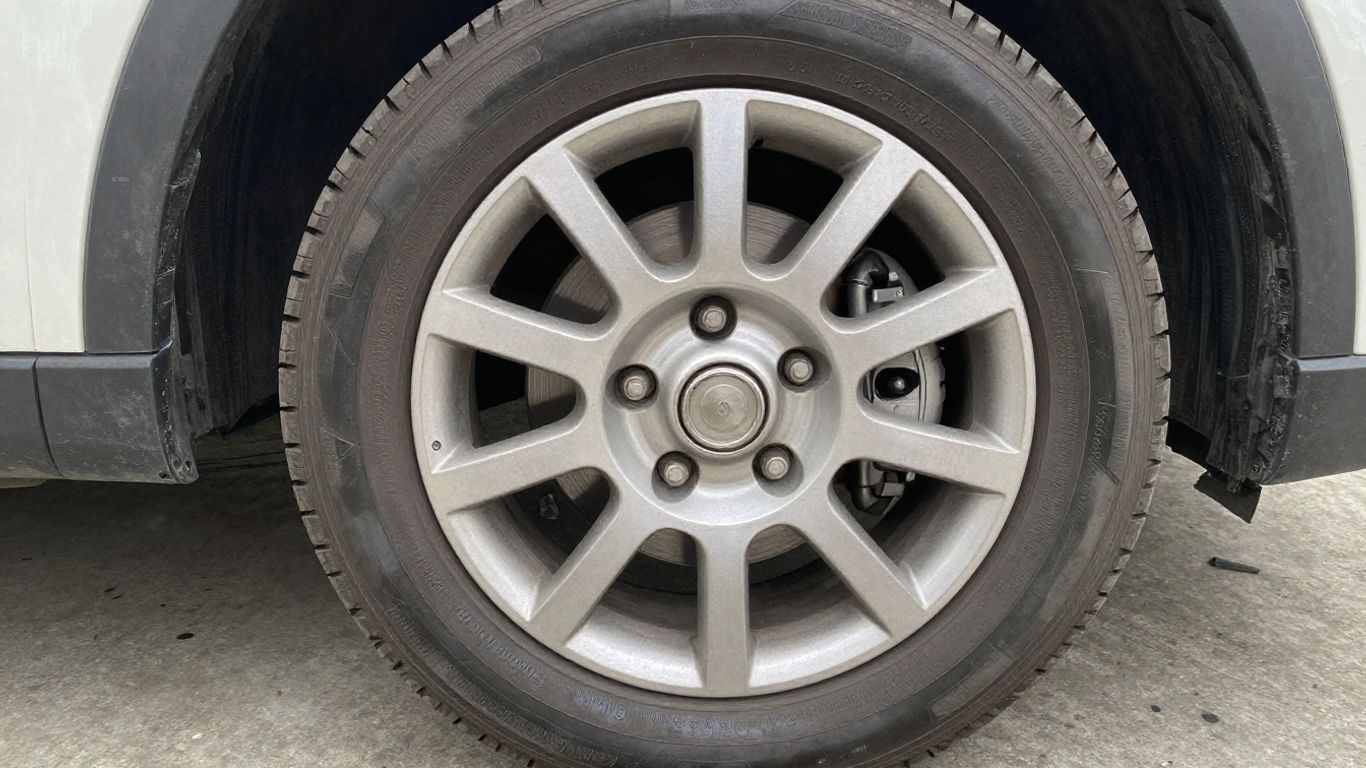
Steering-wheel or pedal vibration during braking
A steering-wheel shake commonly points to variation at the front brakes, while a pulsing pedal may be felt from either axle. The sensation can also come from a wheel, hub, suspension component, or uneven pad deposit, so it is not proof that a rotor must be replaced. Note when the vibration occurs and whether it changes with vehicle speed or braking pressure.
Grooves, blue spots, and visible rotor damage
Light surface marks are not automatically a reason to discard a disc. Deep scoring, heat discolouration, cracks, a pronounced outer lip, or patches that look different from the rest of the surface deserve closer examination. Rust on an unswept area may be cosmetic, but corrosion on the pad contact surface can interfere with proper braking.
Squealing, grinding, or reduced stopping power
Squealing can result from pad material, dust, a sticking component, or movement in the brake hardware. Grinding is more urgent because it may indicate that friction material has been exhausted and metal is contacting the rotor. Reduced stopping power, pulling, or a warning light should be treated as a safety issue and assessed without delay.
When noise may come from pads or other components
A rotor is only one part of a friction system. Worn pads, loose retaining hardware, a seized slide pin, a contaminated surface, or a wheel bearing can all produce sounds or unusual feel. A complete inspection prevents an otherwise good rotor from being replaced while the real fault remains.
Confirming the correct rotor fitment
Brake parts that look nearly identical can still differ in ways that prevent safe installation. Catalogue descriptions are useful, but the vehicle’s exact specification remains the deciding reference. Before ordering, collect the registration details, VIN, model variant, and measurements where available.
Matching the rotor to your Ssangyong model and year
Start with the model and production year, then check whether the catalogue distinguishes between body styles or trim levels. A part listed for one year may not cover every vehicle built during that period. If you are sourcing through a nationwide parts network, provide the full vehicle details rather than relying on a broad make-and-model search.
Checking engine, drivetrain, and brake-package differences
Engine size, drivetrain, payload rating, and optional brake packages can alter disc specifications. Some vehicles use different calipers or rotor sizes within the same model family. Treat “front” or “rear” as only the beginning of the identification process.
Comparing dimensions, bolt patterns, and ventilation
Useful checks include outside diameter, overall height, minimum thickness, centre-bore size, bolt pattern, and the number or type of ventilation passages. The disc’s mounting face must sit flush against the hub, and its braking surface must align with the pad. Do not force a part into place because the bolt holes appear to line up.
Using the vehicle identification number for accuracy
The VIN gives a parts supplier or technician a stronger starting point than a generic online listing. It can help separate closely related variants and reduce the chance of ordering the wrong axle or specification. Keep the original rotor’s measurements as a second check, not as a substitute for manufacturer data.
Choosing replacement Ssangyong brake rotors
A suitable replacement is one that matches the vehicle, meets the required specification, and works with the way the car is driven. Appearance alone is a poor guide. Consider the complete brake job, including pads, hardware, caliper condition, and the environment in which the vehicle operates.
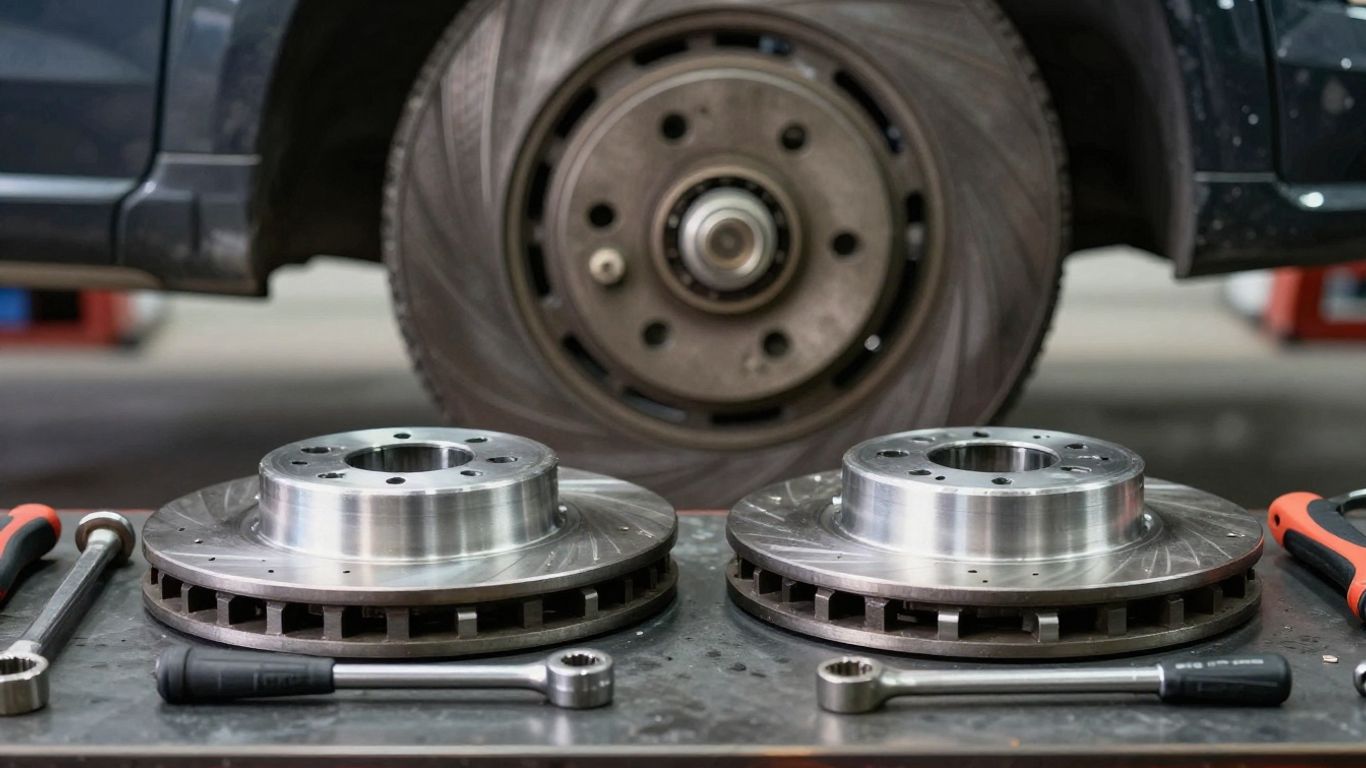
Plain, coated, slotted, and drilled rotor designs
Plain rotors are generally the straightforward choice for ordinary road use. Coatings can protect exposed areas from corrosion, while slots and drilled features change the surface design and may suit particular applications. Such features do not correct a wrong fitment, poor pad match, or faulty caliper, and they should be selected for a clear reason rather than appearance.
Balancing quality, durability, and driving conditions
A city car, a regularly loaded utility, and a vehicle used on steep roads may place different demands on the braking system. Look for a rotor made to the correct specification, with consistent machining and reliable dimensional quality. Spending more is not automatically better if the part is not intended for the vehicle or the driving conditions.
Pairing rotors with compatible brake pads
New discs should normally be paired with pads that are suitable for the same application. Reusing heavily worn, contaminated, or unevenly worn pads can mark the new rotor and compromise bedding. It is also sensible to replace components across the same axle so braking remains balanced.
Evaluating original-equipment and aftermarket options
Original-equipment and aftermarket parts can both be appropriate when their dimensions, materials, and specifications are correct. Compare the supplier’s fitment information, warranty, and quality controls rather than choosing on price alone. For a practical brake overhaul, SsangYong brake components may be considered alongside other correctly catalogued options, while the final choice should still follow the vehicle’s specification.
Inspecting and measuring existing rotors
Visual inspection is useful, but measurement turns a rough impression into a service decision. Remove wheel dirt where necessary and examine the disc in good light, taking care not to touch hot components. Always compare results with the manufacturer’s published limits for that exact brake system.
Checking thickness against the manufacturer limit
Measure the disc at several points around the braking track, avoiding the outer lip. The smallest reading matters, and it must remain above the stated minimum thickness. A rotor can look clean yet be too thin for further use, particularly if it has already been machined in the past.
Measuring lateral runout and disc variation
A dial indicator can measure lateral runout while the rotor is mounted correctly on a clean hub. Thickness variation is checked with a micrometer at consistent points around the disc. If results exceed the specification, inspect hub cleanliness, bearing play, wheel mounting, and caliper operation before assigning the fault to the rotor alone.
Looking for corrosion, cracks, and uneven wear
Check both faces, the edges, cooling passages, and mounting surface. Cracks, severe pitting, heat checking, and a contact pattern that does not cover the expected pad area are reasons for caution. Uneven wear may indicate a sticking slide, seized piston, incorrect hardware, or a pad that is not moving freely.
Deciding whether resurfacing is appropriate
Resurfacing removes material, so it is suitable only when the finished disc will remain above the minimum thickness and the underlying damage is minor. It may not be worthwhile for a deeply cracked, badly corroded, or already thin rotor. When the limits or equipment are uncertain, replacement and professional assessment are safer choices.
Replacing Ssangyong brake rotors safely
Brake replacement involves heavy components, raised-vehicle hazards, and a system that must work correctly on the first drive. Work on a level surface with the vehicle securely supported, and follow the service instructions for the specific application. If any step is unclear, use a qualified technician rather than improvising.
Preparing the vehicle and required tools
Gather a jack and approved stands, wheel chocks, correctly sized sockets, a torque wrench, brake cleaner, a suitable brush, and tools for retracting the caliper piston. Wear eye protection and keep grease away from friction surfaces. Photographing the original hardware can help during reassembly.
Removing the caliper, pads, and old rotor
Remove the wheel, then support the caliper so its hose is not carrying the assembly’s weight. Take out the pads and retaining hardware according to the service procedure, followed by the rotor. Do not press the brake pedal while the caliper is removed, and take care if the old disc is held by a retaining screw.
Cleaning the hub and installing the replacement
The hub face must be clean and flat because rust or debris behind the rotor can create runout. Clean the new disc with brake cleaner to remove its protective film, then mount it without touching the friction surfaces. Install fasteners as specified; never use an impact tool as a substitute for final torque.
Reassembling and checking caliper movement
Refit the pads, clips, caliper, and wheel in the correct order. Confirm that slide pins move as intended and that the brake hose is neither twisted nor stretched. Before moving the vehicle, press the pedal several times until it becomes firm, then check for leaks, unusual movement, and correct wheel clearance.
Bedding in and maintaining new rotors
New rotors and pads need controlled use before they deliver their most consistent friction. Bedding transfers a stable layer of pad material to the disc and helps avoid unnecessary heat shock. The process should follow the pad maker’s instructions and take place on a safe, open road.
Following the correct bedding-in procedure
Use several moderate stops with time between them for cooling, rather than holding the pedal hard after a high-temperature stop. Avoid coming to a complete stop with the pedal clamped for an extended period when the brakes are hot. The exact sequence varies by pad material, so the supplied instructions take priority.
A gradual process is kinder to the new friction surfaces than repeated emergency-style braking. After bedding, allow the brakes to cool and pay attention to pedal feel, noise, pulling, or persistent vibration. Any concerning symptom warrants another inspection rather than more bedding attempts.
Preventing rust and contamination after installation
Surface rust can appear after rain or overnight parking, especially on unswept areas, and usually clears with normal braking. Oil, grease, paint, and heavy cleaner residue on the friction surfaces are different matters and must be removed before use. Avoid washing a hot brake assembly with cold water, and keep wheel-cleaning products away from the disc unless they are suitable for the job.
Inspecting pads, calipers, and brake fluid together
Rotor replacement is a useful moment to inspect pad thickness, pad seating, slide movement, piston operation, dust boots, hoses, and fluid condition. A caliper that remains partially applied can overheat a new disc quickly. For broader maintenance decisions, even unrelated guides about long-term care illustrate the same useful habit: regular checks are easier than recovering from neglected wear.
Knowing when to schedule the next brake inspection
Have the brakes checked at the next scheduled service, after unusual noise or vibration, or sooner if the vehicle is used for towing, heavy loads, steep terrain, or frequent stop-start driving. Recheck wheel fasteners after the first period of use if the service instructions call for it. Keep records of measurements and parts fitted so future inspections have a clear reference point.
Some owners prefer to arrange professional work rather than carry out a brake job at home. For relevant vehicles, front brake replacement and rear brake replacement are examples of service topics that can help frame a conversation with a qualified provider. Those pages should not replace vehicle-specific diagnosis, but they can make it easier to ask what will be inspected and included.
Conclusion
Choosing and replacing ssangyong brake rotors is mainly an exercise in accurate identification, careful measurement, and disciplined installation. Match the part to the vehicle, inspect the entire brake assembly, and bed in the new components patiently; when the job or diagnosis is beyond your tools, arrange a professional inspection before driving further.
Frequently Asked Questions
How long do brake rotors usually last?
Their service life varies with driving style, vehicle load, climate, pad material, and brake-system condition. Measure them and compare the readings with the manufacturer’s minimum rather than relying on mileage alone.
Should brake rotors be replaced in pairs?
Yes, rotors on the same axle are generally replaced together. This keeps friction characteristics and braking response more even from one side of the vehicle to the other.
Can new pads be fitted to old rotors?
Sometimes, if the existing rotors are within specification and have a suitable, even surface. Deep grooves, excessive variation, cracks, or a thin disc make replacement the safer choice.
Is brake vibration always caused by a warped rotor?
No. Vibration can also involve pad deposits, hub runout, wheel installation, bearings, suspension parts, or caliper problems. A measurement-based inspection is needed to identify the cause.
Are drilled or slotted rotors better for every car?
No. Design features should match the vehicle and intended use. A correctly specified plain rotor is often appropriate for ordinary road driving, while appearance alone is not a sound selection criterion.
What should be cleaned before installing a rotor?
Clean the hub mounting face and remove the protective film from the replacement rotor’s friction surfaces. Keep grease, oil, and unsuitable chemicals away from all pad contact areas.
When should brakes be inspected after replacement?
Check them before the first drive, during the bedding period, and at the next scheduled service. Inspect sooner if there is pulling, grinding, a soft pedal, persistent vibration, or a warning light.