

Key Takeaways
A sound charging system depends on more than the alternator housing alone. Careful diagnosis, exact part matching, and a methodical installation can prevent repeat faults.
- Test the charging system before ordering replacement components.
- Match parts by vehicle, engine, year, specifications, and part number.
- Inspect belts, bearings, terminals, grounds, and wiring along with electrical parts.
- Rebuilding can make sense when the housing and major internal components remain serviceable.
- Confirm charging voltage after installation and during routine maintenance.
Understanding how Ssangyong alternator parts work
An alternator converts mechanical rotation from the engine into electrical energy for the vehicle. Its internal parts work as a chain, so a fault in one area can affect the battery, warning light, and starting performance. Understanding that chain makes diagnosis less dependent on guesswork.
The term ssangyong alternator parts may refer to serviceable internal components as well as a complete alternator. The right repair depends on the condition of the unit, the vehicle’s specifications, and the evidence gathered during testing.
The alternator’s role in the charging system
The alternator supplies electrical power while the engine is running and helps restore energy used during starting. The battery provides stored power for the starter and electrical equipment, but it is not intended to carry the vehicle indefinitely with the engine operating. A weak alternator can therefore appear first as a battery or starting complaint.
Charging performance is affected by mechanical drive, electrical connections, internal components, and control circuitry. Testing the complete path is more useful than replacing the battery or alternator based on one symptom.
How the rotor, stator, and rectifier generate power
The rotor spins inside the stationary stator as the engine turns the alternator pulley. This changing magnetic field induces alternating current in the stator windings. The rectifier, often described as the diode pack, changes that alternating current into direct current suitable for the vehicle’s electrical system.
The rotor, stator, and rectifier must work together. A damaged winding, poor brush contact, or failed diode can reduce output even when the pulley is turning normally. That is why visual inspection and electrical testing should be considered together.
What the voltage regulator controls
The voltage regulator controls the alternator’s field current and helps keep charging voltage within a usable range. If regulation is poor, the system may undercharge, overcharge, or fluctuate as electrical loads change. A voltage reading that moves outside the expected range calls for further testing rather than an immediate assumption about one particular part.
The regulator is also closely related to brush operation on many alternator designs. Before ordering a replacement, compare the original assembly’s mounting points, connector, and specifications with the proposed component.
How alternator components interact with the battery and starter
The starter draws a large current from the battery during cranking. Once the engine runs, the alternator supports the vehicle’s electrical demand and replenishes the battery. A poor connection between these components can imitate an internal alternator fault.
The sequence is straightforward: the battery powers the starter, the engine drives the alternator, and the charging circuit returns electrical energy to the battery. Because each link matters, a diagnosis should include cables, grounds, fuses, and terminals as well as the alternator itself.
Diagnosing common alternator part failures
Alternator faults rarely announce themselves in only one way. A dimming light, intermittent warning lamp, belt noise, or slow cranking can have several possible causes. Begin with safe electrical measurements and a visual inspection before removing parts.
Record readings with the engine off and running, then compare them with the vehicle’s service information. A consistent pattern is more informative than a single number taken under unknown conditions.
Symptoms of worn brushes and slip rings
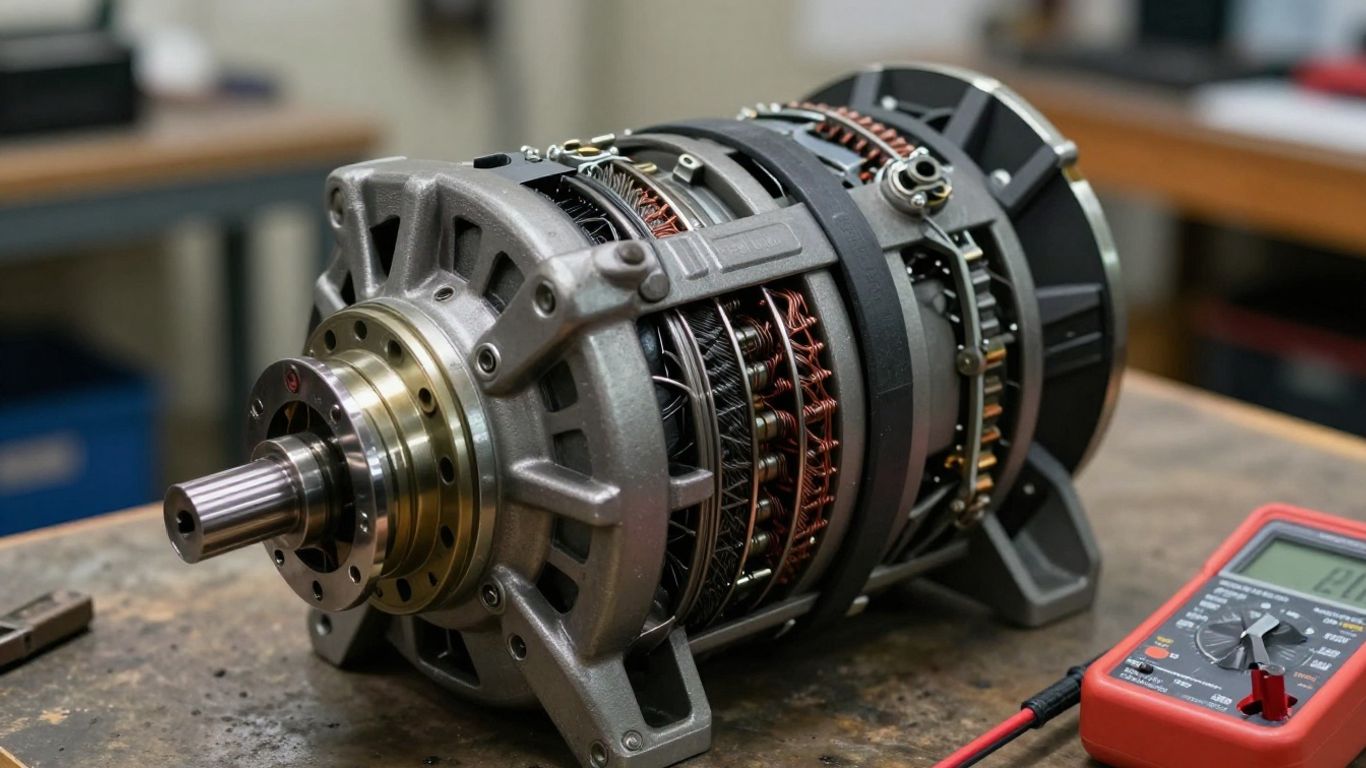
Brushes transfer electrical current to the rotating rotor through the slip rings. As they wear, contact can become intermittent, especially with vibration or changing engine speed. Typical clues include inconsistent charging, a warning light that appears and disappears, or output that improves briefly after movement of the alternator or wiring.
Slip rings can also become grooved, dirty, or uneven. Replacing brushes without checking the surface they contact may provide only a temporary repair. Inspect both parts and confirm continuity before deciding whether the rotor or brush assembly is serviceable.
Testing the diode pack and rectifier
A diode pack should be tested with the alternator isolated according to the service procedure, using a meter’s diode-testing function where appropriate. The goal is to find a diode that conducts in both directions, fails to conduct, or behaves differently from the others. Ripple testing with the alternator operating can add useful evidence.
The test result should be interpreted alongside output current and charging voltage. A rectifier may pass a basic visual inspection while still producing excessive ripple, so symptoms and measurements need to agree before the component is condemned.
Identifying voltage regulator problems
A regulator problem may produce low charging voltage, excessive voltage, or unstable readings under changing loads. Switch on lights and other normal electrical loads during testing, while following the vehicle maker’s safety and measurement instructions. Compare the result with the specified range rather than relying on a universal figure.
A regulator fault can overlap with brush wear, connector damage, or a poor ground. Test before you replace is a useful rule here: confirm the supply, ground, field circuit, and alternator output before buying an internal assembly.
Recognizing bearing, pulley, and belt-related faults
A growling or rumbling sound that changes with engine speed can point toward a bearing problem. Chirping, slipping, glazing, or visible cracking may indicate belt or pulley trouble, while a weak tensioner can allow the belt to lose contact under load. These mechanical faults can reduce charging even when the electrical parts are healthy.
The inspection should include pulley alignment, belt condition, tensioner movement, and nearby fluid leaks. A replacement alternator will not solve a belt-drive fault, and a new belt may not cure a noisy bearing.
Choosing the right Ssangyong alternator parts
Correct selection begins with identification, not price. Vehicle nameplates can cover multiple engines, production periods, and charging specifications, so a part that looks similar may still be unsuitable. Gather the old unit’s markings and the vehicle data before comparing options.
For reference, the XIG1485 alternator is presented as an alternator for a Ssangyong Tivoli, while a separate source describes genuine replacement parts for vehicles from the South Korean manufacturer. Those descriptions are useful starting points, but the vehicle and unit details still need to be checked against the part being ordered.
Matching parts to the model, engine, and production year
Use the exact model, engine, production year, and vehicle identification information available to you. Also check whether the vehicle has different electrical equipment or factory variations that affect alternator output. A catalog match should be confirmed against the original unit before installation.
Do not assume that two vehicles with the same badge use the same alternator. Dimensions, mounting ears, connector orientation, and pulley design may differ even when the housings appear close.
Comparing original, aftermarket, and remanufactured components
Original, aftermarket, and remanufactured components can each be appropriate when their quality and compatibility are established. The meaningful comparison is not only the label; it includes test information, warranty terms, condition of wear surfaces, and whether the supplied component matches the vehicle’s electrical requirements.
For an internal repair, compare the replacement component with the removed part before opening the alternator further. For a complete unit, examine the mounting pattern, pulley, connector, and rated output rather than choosing solely by appearance.
Verifying amperage, dimensions, and electrical connections
Rated amperage must be suitable for the vehicle, but it is only one part of the check. Measure the housing and mounting points, compare pulley dimensions and offset, and inspect the main output terminal and control connector. A mismatch can create installation problems or unreliable charging.
The following checks are especially useful when comparing a catalog listing with the original unit:
- Confirm the rated output and regulator arrangement.
- Compare mounting holes, housing dimensions, and pulley alignment.
- Match the electrical connector, terminal position, and cable attachment.
- Check whether the supplied unit includes the required pulley or hardware.
After these checks, the part number remains the strongest reference for resolving any remaining uncertainty. If the listing and the removed unit disagree, pause the order and verify the application.
Using the alternator part number to avoid compatibility errors
Read the number from the alternator label, stamped housing, or service documentation, and record every visible prefix and suffix. Catalog numbers can distinguish revisions that look almost identical. Cross-reference the number with the vehicle details instead of treating a partial match as confirmation.
Photographs of the connector, pulley, mounting face, and label can also help a supplier identify the correct component. Keep those records with the test readings so selection is based on evidence rather than memory.
Replacing individual alternator components
Replacing a single component can be sensible when the alternator housing, windings, rotor, and mounting surfaces remain in good condition. It can also be less sensible when several wear items have failed or internal damage is extensive. The decision should follow inspection and testing, not simply the lowest purchase price.
Work methodically and keep removed hardware organized. Alternators contain small parts that are easy to reverse or misplace, and an otherwise good rebuild can fail because of an overlooked washer, spacer, or connector.
When rebuilding is better than replacing the complete unit
A rebuild may suit a unit with a healthy housing and serviceable major components but worn brushes, bearings, regulator, or rectifier. It preserves the known fit of the original assembly and lets the repair address the tested failure. However, labor, tooling, and the condition of the remaining parts must be included in the decision.
A complete replacement may be more practical when several internal parts are damaged, the rotor or stator has failed, or inspection reveals corrosion and heat damage. Compare the total repair effort with the condition of the unit before choosing.
Removing and inspecting the alternator safely
Disconnect the battery as specified before removing the alternator, and keep loose cables from contacting terminals. Note belt routing, connector positions, spacers, and mounting hardware. Support the unit during removal so its weight does not strain wiring or nearby components.
Clean the exterior before opening it, then inspect for oil contamination, overheated insulation, damaged terminals, loose fasteners, and worn contact surfaces. A clean work area helps prevent debris from entering bearings or electrical assemblies.
Installing brushes, bearings, regulators, and rectifiers
Install each component according to the service procedure for the alternator design. Brushes must move freely and contact the slip rings correctly; bearings must seat squarely; regulators and rectifiers must have clean electrical and heat-transfer contact where required. Replace damaged insulating washers and hardware rather than reusing questionable pieces.
The repair should be checked at each stage instead of waiting until the housing is closed. Confirm continuity, freedom of rotation, connector fit, and the absence of trapped wires before final assembly.
Checking component alignment and fastening torque
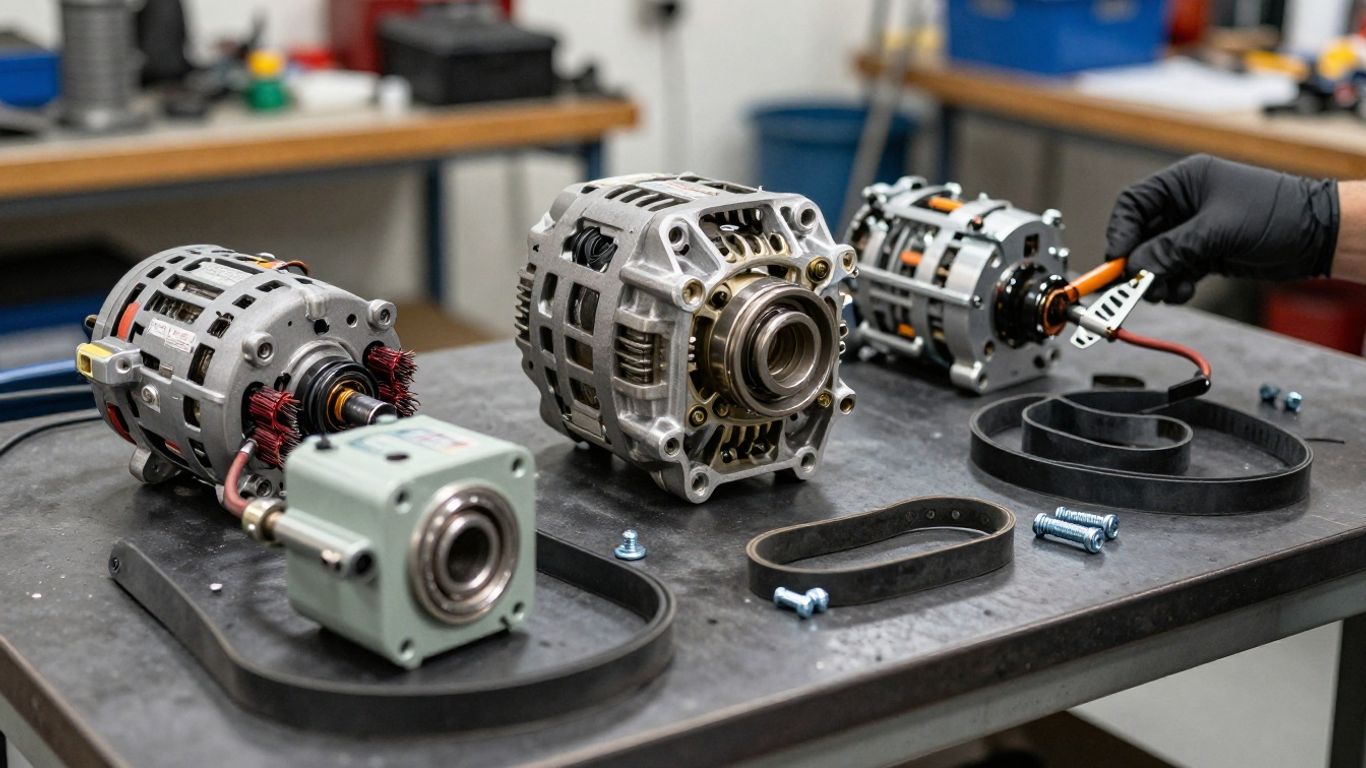
Before tightening, make sure the housings meet evenly and the rotor turns without binding. Check pulley alignment with the belt path and confirm that spacers and washers are in their original positions. Uneven tightening can distort covers or place unwanted load on bearings.
Use the specified fastening torque for the alternator and vehicle wherever it is available. After installation, route wiring away from moving or hot parts, reconnect the battery as directed, and perform a charging test before returning the vehicle to service.
Maintaining alternator performance after installation
A successful repair still depends on the conditions around the alternator. Belt tension, grounding, heat, contamination, and electrical load all influence service life. A few minutes of inspection during routine service can reveal problems before they become a no-charge event.
Keep the original repair notes, test readings, and part numbers. That record makes a later change in charging voltage easier to interpret and helps distinguish a new fault from an old one.
Inspecting the serpentine belt and tensioner
Examine the belt for cracks, glazing, frayed edges, contamination, and incorrect tracking. Check the tensioner for smooth movement and unusual noise, using the vehicle’s procedure rather than forcing the mechanism. A belt that looks acceptable at rest may still slip under electrical load.
After any alternator work, verify that the belt follows the correct routing and sits fully in every pulley groove. Recheck it after the first period of operation if the service instructions call for it.
Cleaning terminals and grounding points
Corrosion and looseness at the battery terminals, alternator output connection, engine ground, or body ground can create voltage drop. Disconnect and clean connections safely, then tighten them correctly. Do not overlook small ground straps; their condition can affect the entire charging circuit.
Measure voltage drop under load when a connection is suspect. A clean-looking terminal is not necessarily a low-resistance connection, so a targeted test is more reliable than appearance alone.
Protecting components from heat, oil, and moisture
Heat from the engine and exhaust can shorten the life of insulation, regulators, and bearings. Oil or coolant contamination can damage belts and collect abrasive dirt around the alternator. Repair leaks, maintain proper shields, and avoid directing high-pressure water at electrical components.
If contamination has reached the alternator interior, cleaning the outside will not be enough. Inspect the affected parts and decide whether they can be restored or should be replaced.
Monitoring charging voltage during routine servicing
Take charging readings at consistent test points and under comparable conditions. Note the engine speed, electrical loads, battery condition, and temperature when recording the result. Trends are valuable: a gradual change can reveal belt slip, connection resistance, or declining internal components before a warning lamp stays on.
The reading should be compared with the vehicle’s specified range. If it is abnormal, repeat the test and inspect the circuit before concluding that the alternator itself has failed.
Troubleshooting charging problems after repair
A repair that does not restore charging requires a structured second look. Start with the simplest possibilities: belt routing, battery connection, alternator plug, main fuse, and ground path. Then verify output under controlled conditions.
Avoid repeatedly running the vehicle with a discharged battery or unstable voltage. Continued operation can leave the vehicle stranded and may place unnecessary stress on electrical equipment.
Interpreting battery warning lights and voltage readings
A battery warning light generally indicates a charging-system concern, not proof that the battery alone is defective. Compare the warning light behavior with measured voltage, belt operation, and electrical load. A light that flickers with engine speed can point toward an intermittent drive or connection issue.
A normal-looking reading at one moment does not rule out an intermittent fault. Repeat measurements while observing the wiring and belt, and record when the symptom occurs.
Finding wiring, fuse, and connection faults
Inspect the alternator connector for bent, loose, pushed-back, or corroded terminals. Check the main charging cable, fusible link or fuse, grounds, and continuity through the relevant circuit. A poor connection can leave the alternator capable of producing power internally while preventing that power from reaching the battery.
Look for heat discoloration or melted insulation near high-current connections. Repair damaged wiring with suitable methods, then repeat voltage-drop and charging tests rather than assuming the wiring repair solved every issue.
Separating battery problems from alternator failures
A weak battery may cause slow cranking even when alternator output is correct. Conversely, a battery that repeatedly goes flat may be the result of insufficient charging. Test battery condition and state of charge separately, then evaluate alternator output with the battery and wiring in known condition.
Consider parasitic drain if the battery loses charge while the vehicle is parked. A battery test, charging test, and standby-current test answer different questions and should not be substituted for one another.
Knowing when professional electrical testing is necessary
Seek professional testing when readings remain inconsistent, the system shows overcharging, wiring faults are difficult to isolate, or internal disassembly requires specialized equipment. Professional equipment can measure ripple, load response, voltage drop, and component behavior more precisely than a basic meter alone.
Stop testing if cables become hot, insulation smokes, the battery is damaged, or voltage rises into an unsafe range. Clear measurements and safe working practices are more valuable than continuing a repair by trial and error.
Conclusion
Reliable alternator repair comes from treating the charging system as a connected group of mechanical and electrical parts. Test the fault, match the component carefully, install it with attention to alignment and connections, and verify the result under realistic conditions. That approach gives ssangyong alternator parts a fair chance to deliver dependable service without replacing healthy components unnecessarily.
Frequently Asked Questions
What does an alternator do?
An alternator produces electrical power while the engine runs and helps recharge the battery after starting. It also supports the vehicle’s electrical loads during operation.
Can a bad battery damage an alternator?
A severely discharged or damaged battery can increase charging-system strain, but the cause should be confirmed with separate battery and alternator tests. Do not assume either component is responsible without measurements.
How can worn alternator brushes affect charging?
Worn brushes can interrupt current reaching the rotor, causing intermittent or reduced charging. The slip rings should be inspected at the same time because their condition affects brush contact.
Why does an alternator make a grinding noise?
Grinding or rumbling commonly points to a bearing or belt-drive issue. Pulley alignment, belt tension, and nearby components should be checked before replacing the alternator.
Is a higher-amperage alternator always better?
No. The alternator must match the vehicle’s mounting, pulley, wiring, control system, and electrical requirements. A higher rating alone does not prove compatibility.
Why does the battery warning light stay on after repair?
Possible causes include a loose connector, failed fuse, poor ground, belt slip, incorrect component, or an unresolved internal fault. Repeat the charging and circuit tests systematically.
When should an alternator be rebuilt instead of replaced?
Rebuilding may suit a unit with a sound housing and serviceable major components when the fault is limited to replaceable wear items. Extensive heat, corrosion, winding, or rotor damage may make a complete replacement more practical.