

Key Takeaways
Choosing the right replacement lamp is mostly a matter of careful identification, honest comparison, and safe installation.
- Match the part to the vehicle’s model, year, trim, and side.
- Confirm part numbers, connectors, mounting points, and wiring before ordering.
- Compare OEM and aftermarket options by fit, beam quality, documentation, and warranty.
- Inspect shipping, returns, and seller information as closely as the price.
- Test every repaired or replaced light before driving at night.
Understanding Ssangyong lighting parts
Exterior lighting is a group of connected systems rather than a single part category. A complete lamp may include a housing, lens, reflector, bulb or LED module, connector, and mounting hardware. Before shopping for Ssangyong lighting parts, learn which piece has failed and whether the rest of the assembly is still serviceable.
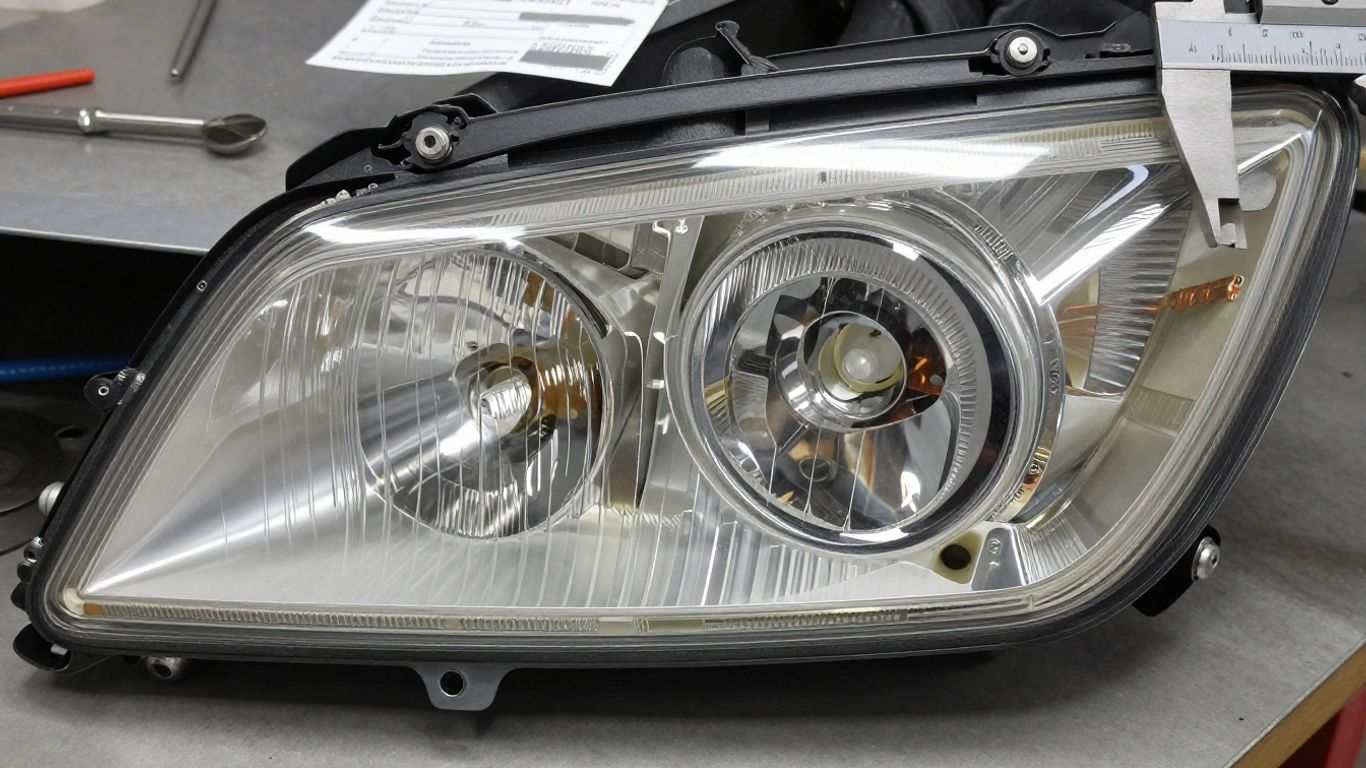
The visible shape can be misleading. Two lamps may look almost identical while using different connectors, internal modules, or mounting tabs. A photograph is useful for an initial comparison, but the vehicle identification number, original part number, and physical measurements provide much stronger evidence.
Headlights, tail lights, and signal lamps
Headlights provide forward illumination, while tail lights help following drivers judge the vehicle’s position and braking. Signal lamps communicate turning or lane-change intentions, and some assemblies combine several functions behind one lens. A replacement should reproduce the intended function without creating uneven brightness or stray light.
When inspecting a headlight, look for a damaged lens, broken adjuster, failed bulb, or problem inside the housing. Tail-light faults may come from a bulb holder, LED board, seal, or wiring rather than the complete lamp. Signal lamps deserve the same care because a fast flash rate can indicate an electrical fault or an incorrect load.
Fog lights, daytime running lights, and marker lights
Fog lights are designed for conditions where low, controlled illumination is useful; they are not simply smaller headlights. Daytime running lights improve daytime visibility, while marker and side lamps help outline the vehicle from different angles. Their location, beam direction, and switching behavior vary by vehicle configuration.
Check the owner’s manual and local regulations before changing a lamp’s color, intensity, or operating pattern. A part that physically fits may still be unsuitable if its beam is poorly controlled or its connector does not match the original circuit. This is especially relevant when replacing a complete fog-light or daytime-running-light assembly.
Bulbs, LED modules, housings, and lenses
A bulb replacement is usually a smaller repair than replacing a full housing. LED units can be integrated into the assembly, attached as a replaceable module, or paired with a separate control component. The lens and housing also matter: a cloudy lens reduces useful light, while a cracked housing can admit water and damage otherwise healthy electronics.
Read the listing carefully to establish what is included. “Lamp assembly” may mean the housing and lens only, or it may include bulbs, LED boards, ballasts, control units, and brackets. Ask for a contents list when the description is vague, and compare the rear of the offered part with the original before committing to the purchase.
Exterior lighting components for popular Ssangyong models
Model names alone are not enough to identify an exterior lamp. A change in body style, facelift, market specification, or equipment level can alter the shape and electrical design. Parts for a newer vehicle such as the Torres may be listed separately from earlier models, so a seller’s model filter should be treated as a starting point rather than proof of fitment.
A useful catalog entry states the model code, production range, lamp position, side, connector details, and reference numbers. The Torres lighting range is an example of how model-specific listings can group headlights, taillights, and fog lights for a particular vehicle family. Even then, verify your own vehicle details before ordering.
How to identify the correct replacement part
Correct identification prevents most avoidable returns. Start with the vehicle identification number and the label on the old component, then compare those details with the supplier’s listing. Make a note of whether you need the complete assembly, an internal unit, a lens, a bulb, or a connector.
Do not rely on color or outer styling alone. Lighting parts can differ between left-hand-drive and right-hand-drive markets, and a lamp intended for one road system may have a different beam pattern from one intended for another. Fitment evidence matters most when several listings appear to show the same part.
Matching the vehicle model, year, and trim
Record the model, model code if available, production year, body style, engine or equipment grade where relevant, and the market in which the vehicle was sold. Trim level can affect daytime running lights, fog lamps, adaptive functions, and the presence of integrated indicators.
The VIN is particularly useful when a manufacturer changed a lamp during a production run. If the seller cannot search by VIN, provide clear photographs of the front, rear, connector, mounting points, and part label. Those details give the seller something more reliable than a broad model description.
Checking OEM, aftermarket, and supplier part numbers
The original-equipment number is a valuable reference, but it should not be treated as the only check. Suppliers may use an interchange number, internal stock code, or replacement number. Compare the number, description, side, and physical design together, and ask whether the offered number is a direct replacement or merely a similar application.
Online catalogs are easier to use when their data is structured consistently. A guide to item specifics for vehicle listings can be useful for understanding why brand, dimensions, and category attributes help buyers filter products, although catalog data still needs to be checked against the actual part.
If a listing provides only a short title and a stock photograph, request the exact number printed on the component. Keep a copy of the seller’s reply and the listing at the time of purchase; this documentation can help if the delivered part differs from the described one.
Comparing left-hand and right-hand lighting assemblies
Left and right assemblies are generally mirror images, but they are not interchangeable. The position of a reflector, signal section, mounting tab, and wiring outlet may change from one side to the other. Some listings use driver-side and passenger-side language, which can be confusing across markets.
Confirm the side using the vehicle’s direction of travel, not the view in a photograph. If you are standing in front of the vehicle, your left is not the vehicle’s left. Ask the seller to state the side explicitly and compare the rear of the proposed assembly with the original.
Confirming connector, mounting, and wiring compatibility
Before ordering, count the connector pins, inspect their shape, and compare the position of mounting studs and tabs. Check whether the part uses a replaceable bulb, an integrated LED board, or an electronic control unit. A connector adapter may solve a plug difference, but it does not automatically solve differences in control signals or load requirements.
A simple compatibility record can keep the comparison organized:
| Check | Original part | Replacement listing | Result |
|---|---|---|---|
| Part number | Label or stamped code | Advertised reference | Match or investigate |
| Connector | Pin count and shape | Photograph or specification | Match or investigate |
| Mounting | Tabs, studs, and screw points | Listing photographs | Match or investigate |
| Function | Bulb, LED, signal, or control unit | Included components | Match or investigate |
Use the table before payment, not after the package arrives. Any unresolved difference should lead to a question for the seller or a different listing, rather than a guess during installation.
Choosing between OEM and aftermarket lighting parts
Both genuine and aftermarket components can be reasonable choices when the application is clearly documented. The decision depends on the part’s fit, optical performance, electrical design, availability, warranty, and total cost. A low purchase price is less attractive if installation requires modifications or the lamp cannot be returned.
The most useful comparison is between like-for-like components. Compare a complete assembly with another complete assembly, and a bulb or module with the same type of replacement. Also check whether either option includes brackets, seals, bulbs, control units, or other items that would otherwise need to be purchased separately.
Advantages of genuine Ssangyong components
Genuine components are normally the simplest reference point when you need the same design as the original vehicle part. The existing connector, mounting arrangement, lens shape, and optical layout are more likely to align with the vehicle’s original specification, though the part number and application still need verification.
They can also be easier to document through a dealer or established parts channel. That documentation may help with future repairs, insurance records, or a return claim. It does not remove the need to inspect the part on arrival, particularly when packaging has been damaged.
When aftermarket parts offer better value
An aftermarket component may make sense when the original part is expensive, unavailable, or offered only as a full assembly while a smaller repair would solve the problem. It may also be practical for an older vehicle when several suppliers stock the same replacement design.
Value should be judged by the complete job. Include shipping, taxes, adapters, bulbs, seals, labor, and the cost of returning an unsuitable part. A supplier that provides clear photographs, reference numbers, warranty terms, and prompt technical answers may be a better choice than one offering the lowest headline price.
Evaluating beam pattern, brightness, and build quality
Brightness by itself is not a reliable quality measure. A headlight needs a controlled beam, a usable cutoff where applicable, and consistent output from both sides. For tail lights and indicators, color, visibility, and the timing of the signal matter as much as raw intensity.
Inspect product photographs for clean lens molding, even reflector surfaces, secure mounting points, and a protected rear connector. Ask whether the part has been tested and whether the advertised specifications apply to the complete unit or only to an internal LED element. Avoid making a road-use decision from marketing language alone.
Understanding warranties, certifications, and road regulations
Read the warranty duration, exclusions, claim process, and return window before buying. Some warranties cover manufacturing defects but exclude water entry, installation damage, modified wiring, or normal wear. A warranty is useful only when the seller identifies the responsible party and explains the evidence required for a claim.
Certification markings and road regulations differ by country and by lighting function. Confirm that the replacement is legal for the vehicle’s intended use, especially if it changes beam direction, color, intensity, or automatic operation. When in doubt, consult a qualified inspection station or vehicle lighting specialist.
Where to buy Ssangyong lighting parts
The best source depends on how quickly you need the part, how much fitment support you require, and whether you are buying one component or several. Dealers may provide strong vehicle identification support, while specialist suppliers and marketplaces can offer more choice. Wholesale exporters may be useful for repeated orders, but their terms need close reading.
Treat the listing as a technical document. A good page identifies the application, position, reference number, contents, condition, warranty, dispatch location, and return rules. Product photographs should show the actual unit when possible, not only a generic image.
Authorized dealers and specialist parts suppliers
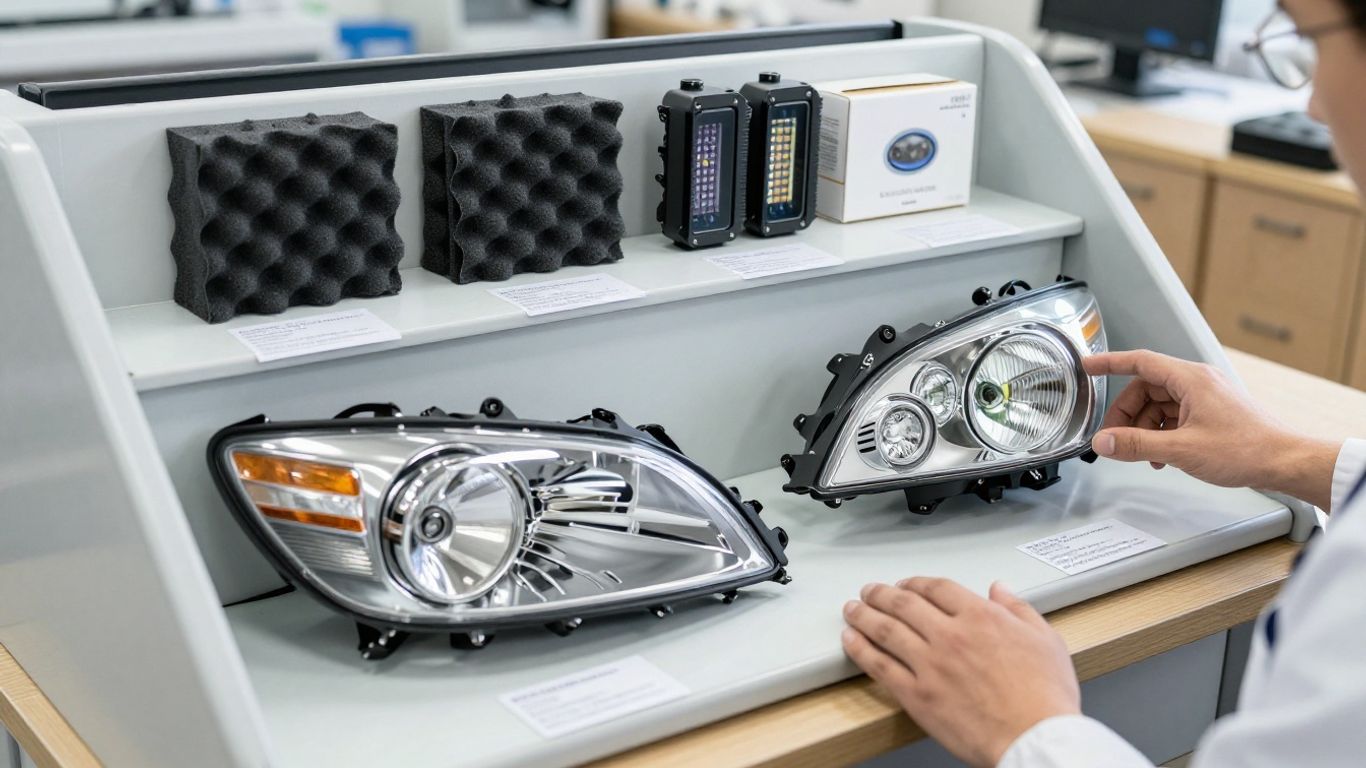
An authorized dealer can often use the VIN to identify the original application and may be the most straightforward route for a current vehicle. Specialist suppliers can be helpful when a dealer no longer stocks an older lamp or when you need a used, refurbished, or aftermarket alternative.
Ask whether the quoted part is new, used, repaired, or previously installed. For a specialist supplier, request photographs of the lens, housing, connector, mounting points, and any visible damage. Written confirmation of the exact side and part number is worth obtaining before payment.
Online marketplaces and wholesale exporters
Marketplaces make it easier to compare condition, price, and delivery options, but their catalog entries vary widely. The external lighting listings can help shoppers compare categories such as headlight assemblies, rear lamps, fog lights, daytime running lights, and indicators. Use filters to narrow the search, then verify the individual listing rather than assuming every result has identical fitment.
For wholesale purchases, ask about minimum order quantity, sample availability, packaging, inspection, payment terms, and shipping responsibility. A supplier page describing aftermarket LED tail lamps may provide useful details about OE replacement sizing and warranty terms, but those claims should still be confirmed for the exact item and order.
Some buyers also encounter unrelated technical catalogs while researching supplier systems. For example, the SLM-10 Auterion module belongs to aerial communication equipment, not vehicle lighting; recognizing that distinction is a useful reminder to check the actual product category before relying on a search result.
Comparing prices, shipping, and return policies
Compare the delivered cost rather than the item price. Shipping method, import charges, packaging, insurance, and local taxes can change the final figure substantially. Large lamp housings are also vulnerable to impact, so examine the carrier’s damage process and the time allowed for inspection.
Before placing an order, record these practical details:
- The exact part number and vehicle application.
- Whether the price covers one side or a pair.
- Included bulbs, modules, brackets, seals, and connectors.
- Dispatch time, delivery method, and expected import charges.
- Return conditions for opened or installed parts.
This short record makes different offers easier to compare. It also gives you a checklist for the package inspection, when damage or missing components should be reported promptly.
Avoiding counterfeit or poorly documented components
Be cautious when a listing uses a manufacturer name but gives no part number, no clear photographs, and no traceable seller information. Suspiciously generic packaging, inconsistent spelling, unusually low pricing, and copied photographs are reasons to ask more questions. A legitimate seller should be able to explain what the part is and what vehicle application it is intended to serve.
Country-of-origin information can also be useful, but it is not a substitute for fitment evidence. A page offering genuine parts from Korea may be relevant to sourcing, yet you should still request the component number and application details for the particular lamp. Keep invoices and correspondence with the part after purchase.
Replacing Ssangyong lighting parts safely
Lighting work is often manageable for a careful vehicle owner, but access can be tight and some assemblies require bumper or trim removal. Read the service instructions first and allow enough time to work without rushing. If the vehicle has advanced lighting controls, leveling systems, or high-voltage components, professional assistance may be the safer option.
Disconnecting power, protecting painted surfaces, and keeping fasteners organized are simple measures that prevent secondary damage. Never force a connector or use a mounting screw to pull an assembly into alignment. Resistance usually means that a tab, seal, or locating point is not seated correctly.
Tools and preparation for the installation
Prepare the replacement part, vehicle documentation, protective gloves, trim tools, suitable screwdrivers, a socket set, masking tape, and a clean work light. A multimeter can help with basic voltage and ground checks. Keep a container for fasteners and label connectors if several similar plugs are nearby.
Park on a level surface, switch off the ignition, and allow hot bulbs or housings to cool. Protect the bumper and fenders with clean covers. Before removing anything, photograph the original installation so you can compare routing, clips, and seal placement during reassembly.
Removing and fitting headlight and tail light assemblies
Follow the vehicle-specific removal sequence rather than assuming that every visible screw holds the lamp. Some fasteners are hidden behind trim, grille sections, wheel-arch liners, or the trunk lining. Release clips gradually and support the assembly as the final fasteners come out.
Before fitting the replacement, compare both parts on a bench. Check the tabs, studs, connector position, seal, and lens shape. Transfer only the components that the instructions or parts documentation identify as reusable, then tighten fasteners evenly without overtightening plastic housings.
Replacing bulbs, LED units, and connectors
Use the correct bulb type and avoid touching the glass of halogen bulbs with bare fingers. For LED modules, follow the replacement procedure and confirm whether a control unit or polarity-sensitive connector is involved. If a connector is heat-damaged or loose, replacing only the bulb may leave the underlying fault unresolved.
Inspect terminals for corrosion, pushed-back pins, or damaged locking tabs. Do not improvise with loose wires inside a sealed lamp. A proper repair preserves insulation, strain relief, polarity, and weather sealing, and it should not interfere with the assembly’s mounting or adjustment points.
Testing alignment, brightness, and electrical function
Test the lights before reinstalling every trim piece. Check low and high beams, tail and brake lights, indicators, hazard lights, reverse lights, fog lights, and marker or daytime-running lights when fitted. Verify that warning messages, flash rates, and automatic functions behave as expected.
After installation, inspect the beam pattern on a level surface and have headlight alignment adjusted when necessary. Compare both sides for color and output, then take a short daytime check drive before relying on the vehicle at night. If the lamp is loose, flickers, or allows water inside, stop and correct the problem.
Maintaining and troubleshooting Ssangyong lighting
Regular checks help reveal small faults before they become a visibility problem. Walk around the vehicle during routine cleaning and ask another person to operate the lights while you observe them. Look for differences in color, brightness, timing, and condensation, not just complete failures.
A fault that appears to be a bad lamp may originate in the fuse box, wiring, switch, control unit, or ground connection. Troubleshooting is more efficient when you change one variable at a time and record what happens. Avoid replacing several expensive components before confirming the circuit.
Diagnosing dim, flickering, or failed lights
A dim lamp may have a failing bulb, cloudy lens, weak ground, corroded connector, or low supply voltage. Flickering can point to a loose terminal, damaged wire, failing LED driver, or vibration at the mounting point. A completely failed light should be checked for the fuse and power supply before the assembly is condemned.
Compare the affected side with the working side. If swapping a compatible bulb moves the fault, the bulb is suspect; if the fault stays in place, investigate the socket, wiring, and ground. Do not fit a higher-rated fuse to prevent repeated blowing, since that can create a wiring hazard.
Repairing condensation, cracked lenses, and damaged seals
A small amount of temporary misting can occur when temperature and humidity change, but persistent water droplets or pooled moisture require attention. Check the vent, lens seam, rear cover, and cable entry for damage. Drying the lamp without fixing the entry point usually produces only a short-term improvement.
A cracked lens can allow water in and alter the beam or color of the lamp. Seal damage should be repaired with the correct replacement seal or assembly where appropriate. Avoid covering vents or using household adhesive in a way that traps moisture or prevents later service.
Checking fuses, relays, wiring, and ground connections
Use the vehicle’s wiring information to identify the correct fuse and relay rather than relying on a similar-looking position. Check for voltage at the connector with the circuit activated, and inspect the ground path for corrosion or looseness. A voltage reading without a reliable load test does not always prove that the circuit can operate the lamp.
Look for rubbed insulation near body panels, stretched wires at hinges, and water intrusion around connectors. Disconnect the battery when the service procedure requires it, and follow any precautions for electronic control systems. If testing is beyond your tools or experience, an auto electrician can isolate the fault more safely.
Keeping lenses clear and lighting performance consistent
Wash lenses with mild automotive soap and a clean cloth, then dry them fully. Avoid abrasive household cleaners and rough sponges that can haze plastic. Check that protective caps, vents, and seals remain correctly seated after cleaning or bulb replacement.
Replace lamps in matched pairs when their output or color has become noticeably different, where practical and appropriate. Keep the adjustment points accessible, inspect mounting hardware during servicing, and include a lighting check in seasonal vehicle maintenance. Consistent care improves visibility without turning routine maintenance into unnecessary part replacement.
Conclusion
The right replacement begins with identification, continues with a careful comparison of fit and documentation, and ends with a controlled installation and functional test. Whether you choose a genuine assembly or an aftermarket component, verify the details before ordering and treat safe lighting performance as the final measure of value.
Frequently Asked Questions
How do I know which lighting part fits my vehicle?
Match the vehicle identification number, model, year, trim, market, lamp position, and original part number. Confirm the connector and mounting design with photographs or measurements before ordering.
Should I replace the whole lamp or only the bulb?
Replace only the bulb when the housing, socket, lens, wiring, and seals are sound and the bulb is the confirmed fault. A damaged housing, integrated LED failure, or water entry may require a larger assembly or module.
Are aftermarket lighting parts safe to use?
They can be suitable when they are made for the exact application, have a controlled beam or correct signal output, fit securely, and comply with local road regulations. Documentation and warranty terms are important indicators of a responsible purchase.
What does left-hand or right-hand lamp mean?
It refers to the vehicle’s left or right side when viewed in the normal direction of travel. Confirm the seller’s convention because a front-facing photograph can make the sides appear reversed.
Why does a new light flicker after installation?
Possible causes include a loose connector, poor ground, damaged wiring, incorrect bulb or LED load, voltage fluctuation, or a failing control component. Check the circuit and connection before assuming the new part is defective.
Is condensation inside a headlight normal?
Brief light misting may clear as the lamp warms and vents, but persistent droplets or standing water indicate a sealing, vent, or housing problem. Continued moisture can damage bulbs, connectors, and electronic modules.
What should I check after replacing a light?
Operate every relevant lighting function, inspect the lamp for looseness and water entry, compare color and brightness, and check headlight alignment. Confirm that warning messages and indicator flash rates are normal before night driving.